How to Measure Your Bedroom for a Fitted Wardrobe in East Lothian
Accurate measurements are the single most important thing you can bring to a fitted wardrobe consultation. Get them right and your installer can price confidently, order materials precisely, and avoid costly on-site adjustments. A few simple tools and a methodical approach are all it takes.
What You Need Before You Start
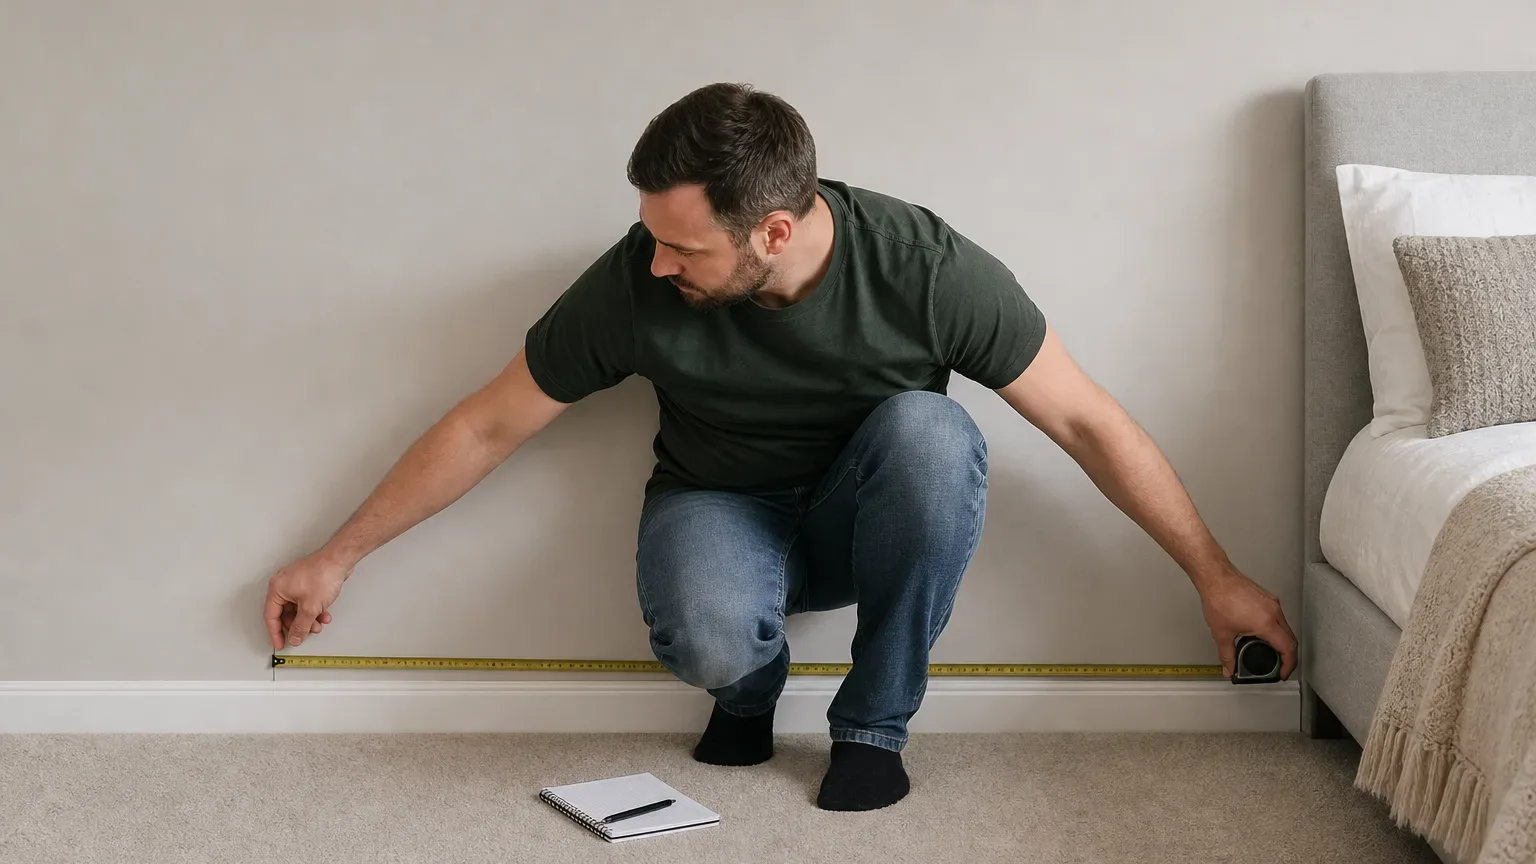
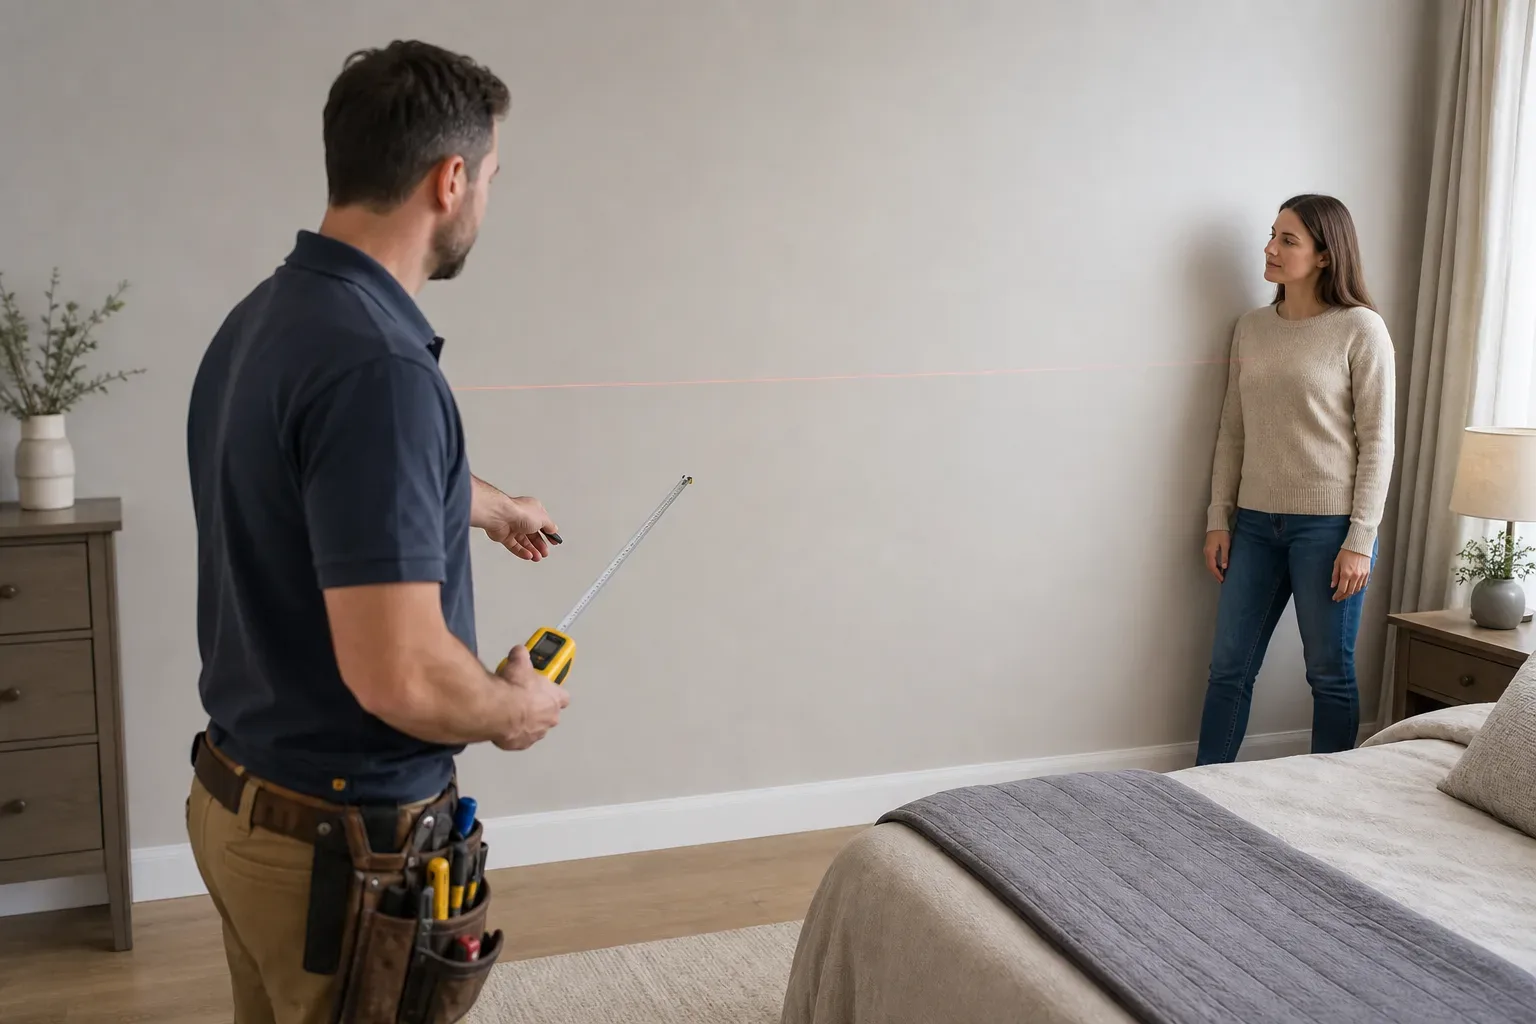
Gather a steel tape measure, a notepad, and a pencil. A laser distance measurer is useful for high ceilings but not essential. Sketch a rough floor plan of the room, even if it is just a rectangle with arrows indicating which wall you are measuring.
Note the wall where the wardrobe will sit before you take any measurements. In many East Lothian properties, this is a chimney-breast wall with alcoves either side, which changes how you record the space.
How to Measure a Bedroom for a Fitted Wardrobe
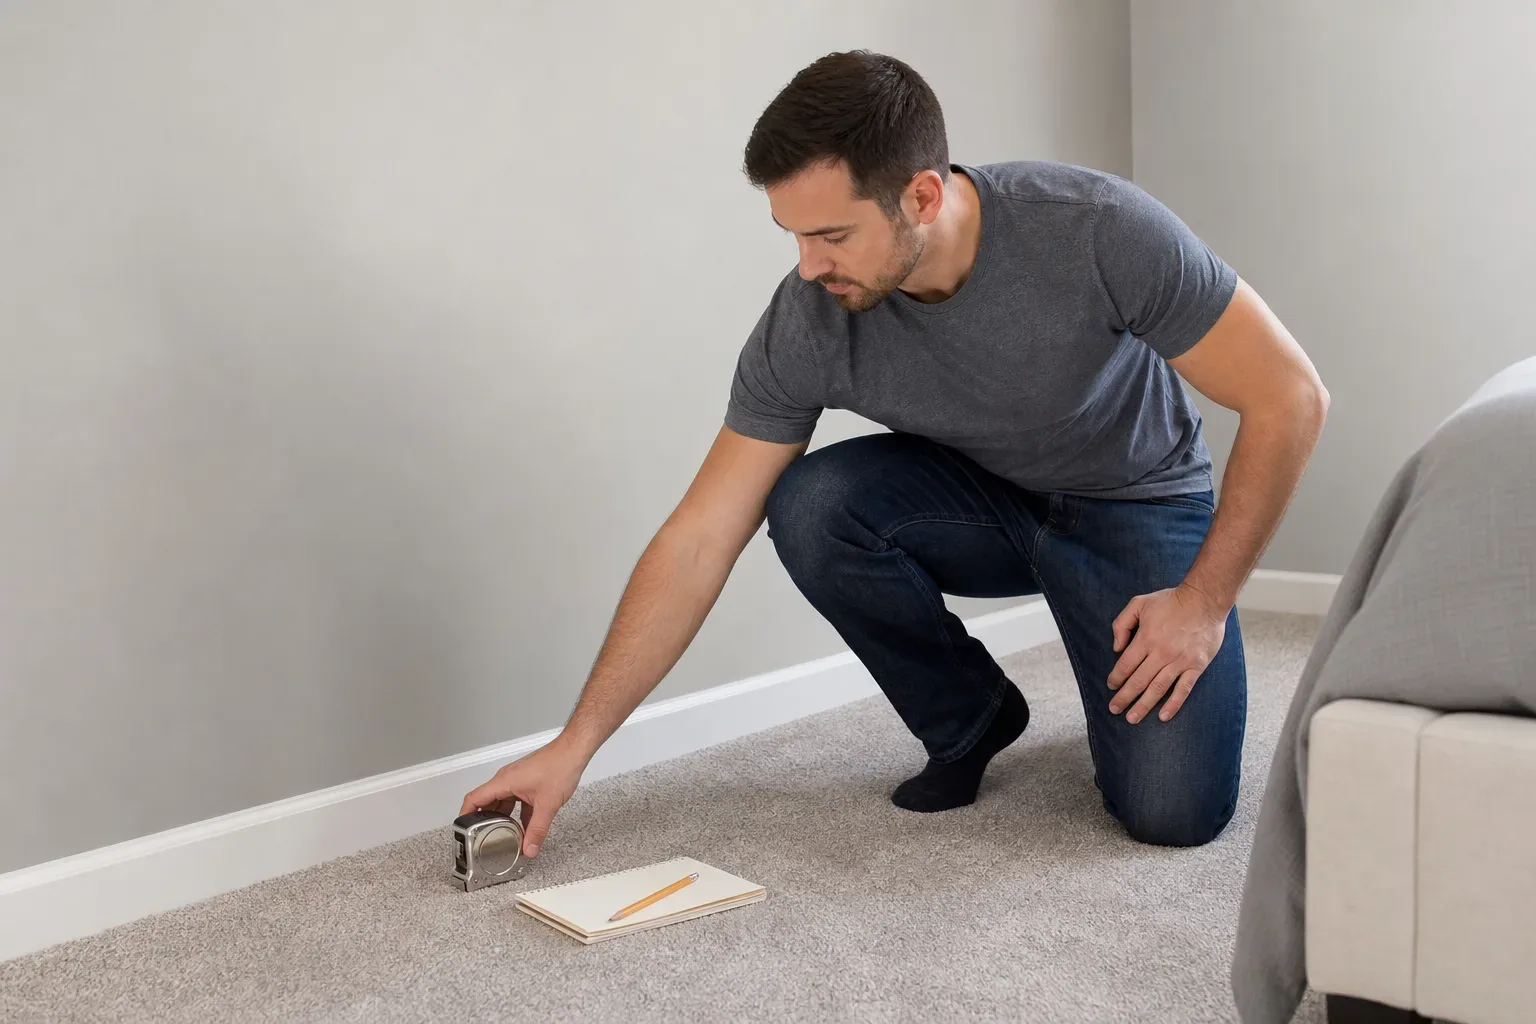
Measure the full width of the wall first, then break it into sections. Run your tape from skirting board to skirting board at three heights: floor level, mid-height, and just below the ceiling. Walls in older East Lothian homes, particularly Victorian terraces in Haddington or Musselburgh, are rarely perfectly square, so all three readings matter.
Record every measurement in millimetres rather than centimetres or feet. Millimetres leave no ambiguity when a fitter is ordering MDF panels cut to size.
Measuring Width
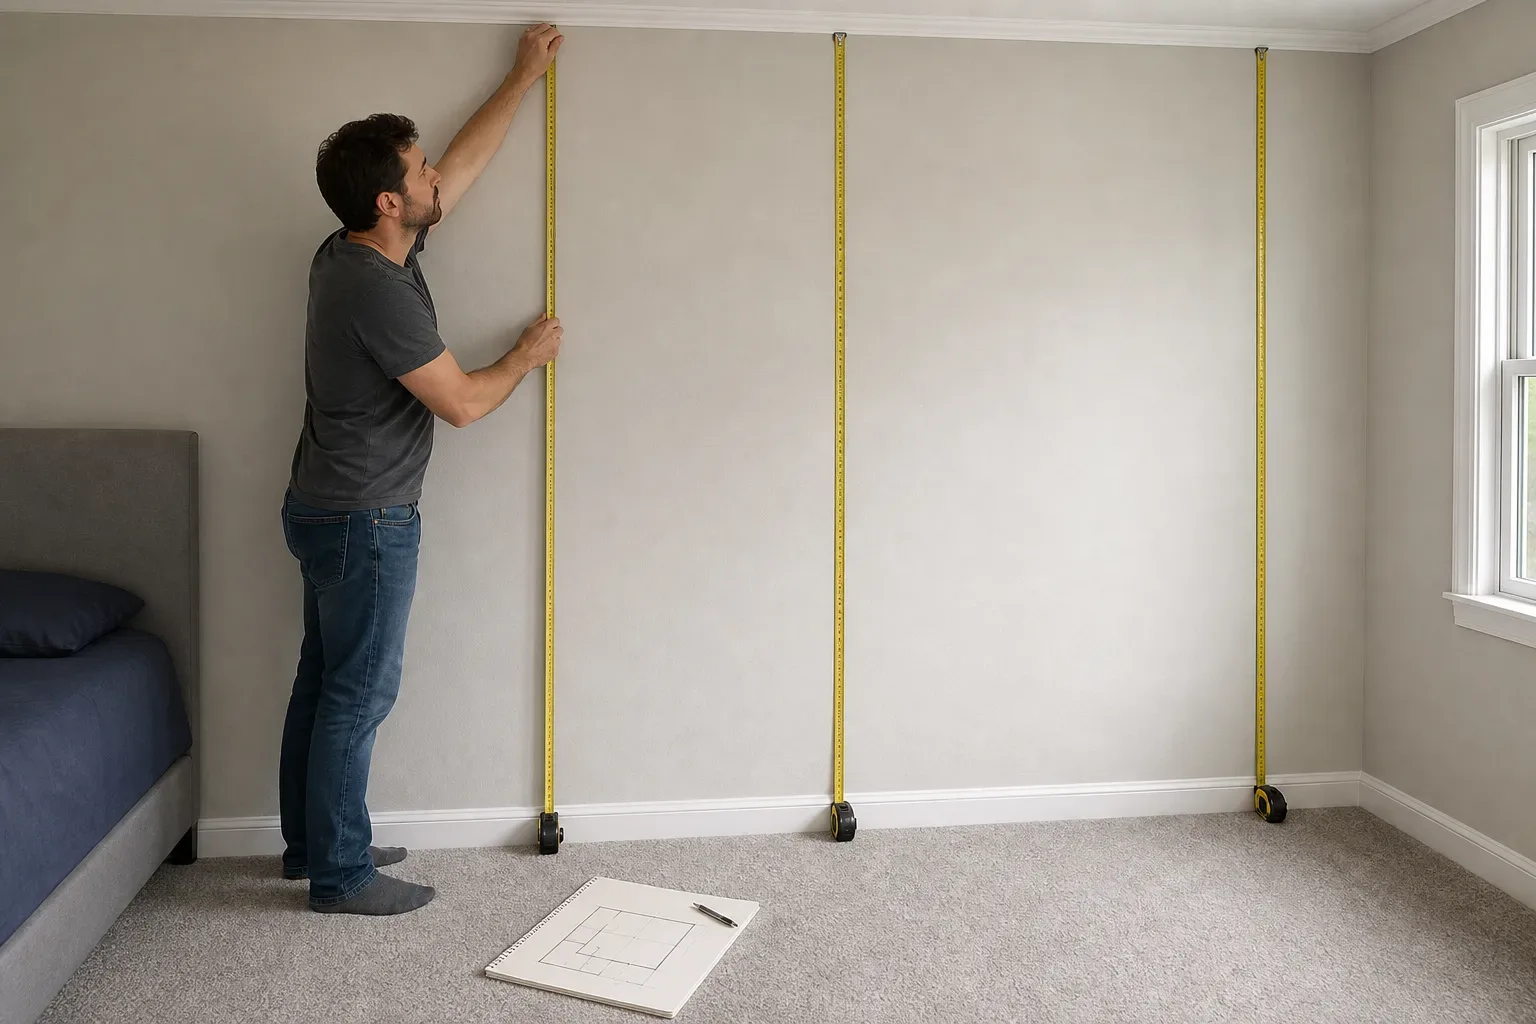
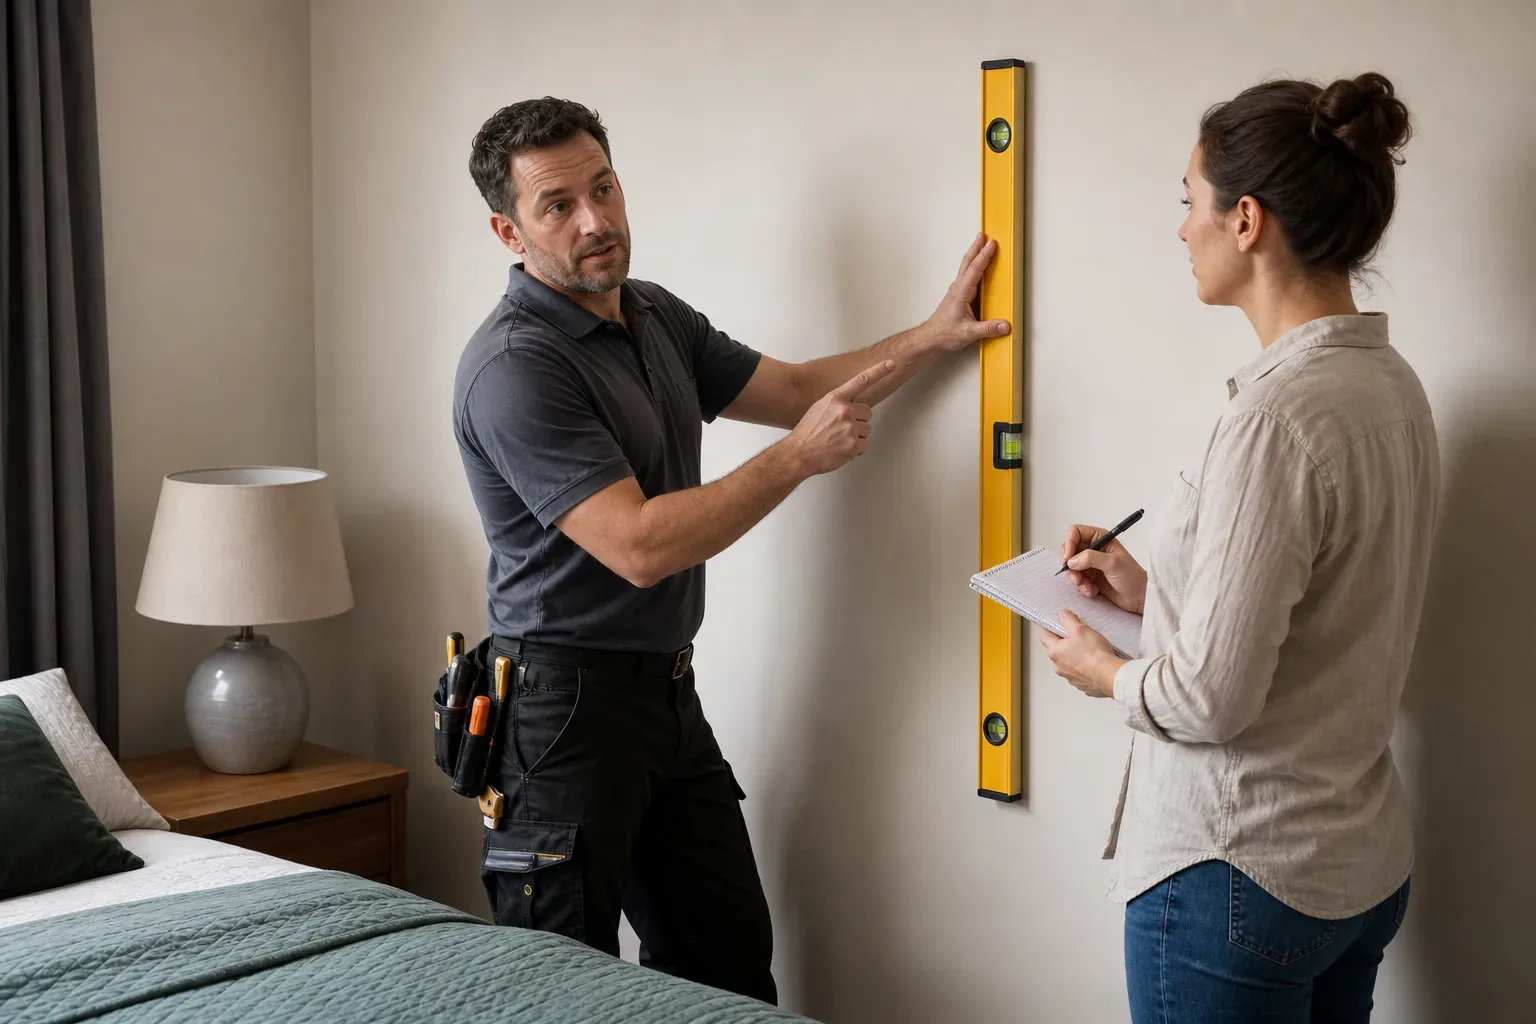
Measure the wall at floor level, at 1,000 mm height, and at 2,000 mm height. If the three figures differ by more than 10 mm, flag this when you speak to your installer. Significant variation can affect how carcasses are built and whether scribe strips are needed to fill gaps at the sides.
For alcove wardrobes, measure each recess separately: width at the front opening, width at the back wall, and the depth from front to back. Alcoves are almost never identical on both sides of a chimney breast.
Measuring Height
Measure floor to ceiling at each end of the wall and at the centre. Note whether you have a coving or cornice running along the top. Coving typically projects 60–120 mm from the ceiling plane and will affect the depth of any top-box or full-height door frame.
If you have a sloped ceiling, measure the height at the lowest point, the highest point, and mark where the slope begins. This is common in loft conversions and some semi-detached properties across towns like North Berwick and Dunbar.
Measuring Depth
Standard fitted wardrobe depth is 580–620 mm, which comfortably accommodates hanging rails with a 50–60 mm clearance behind the rail. Measure how much depth you can realistically give up without the doors swinging into a bed or a doorway.
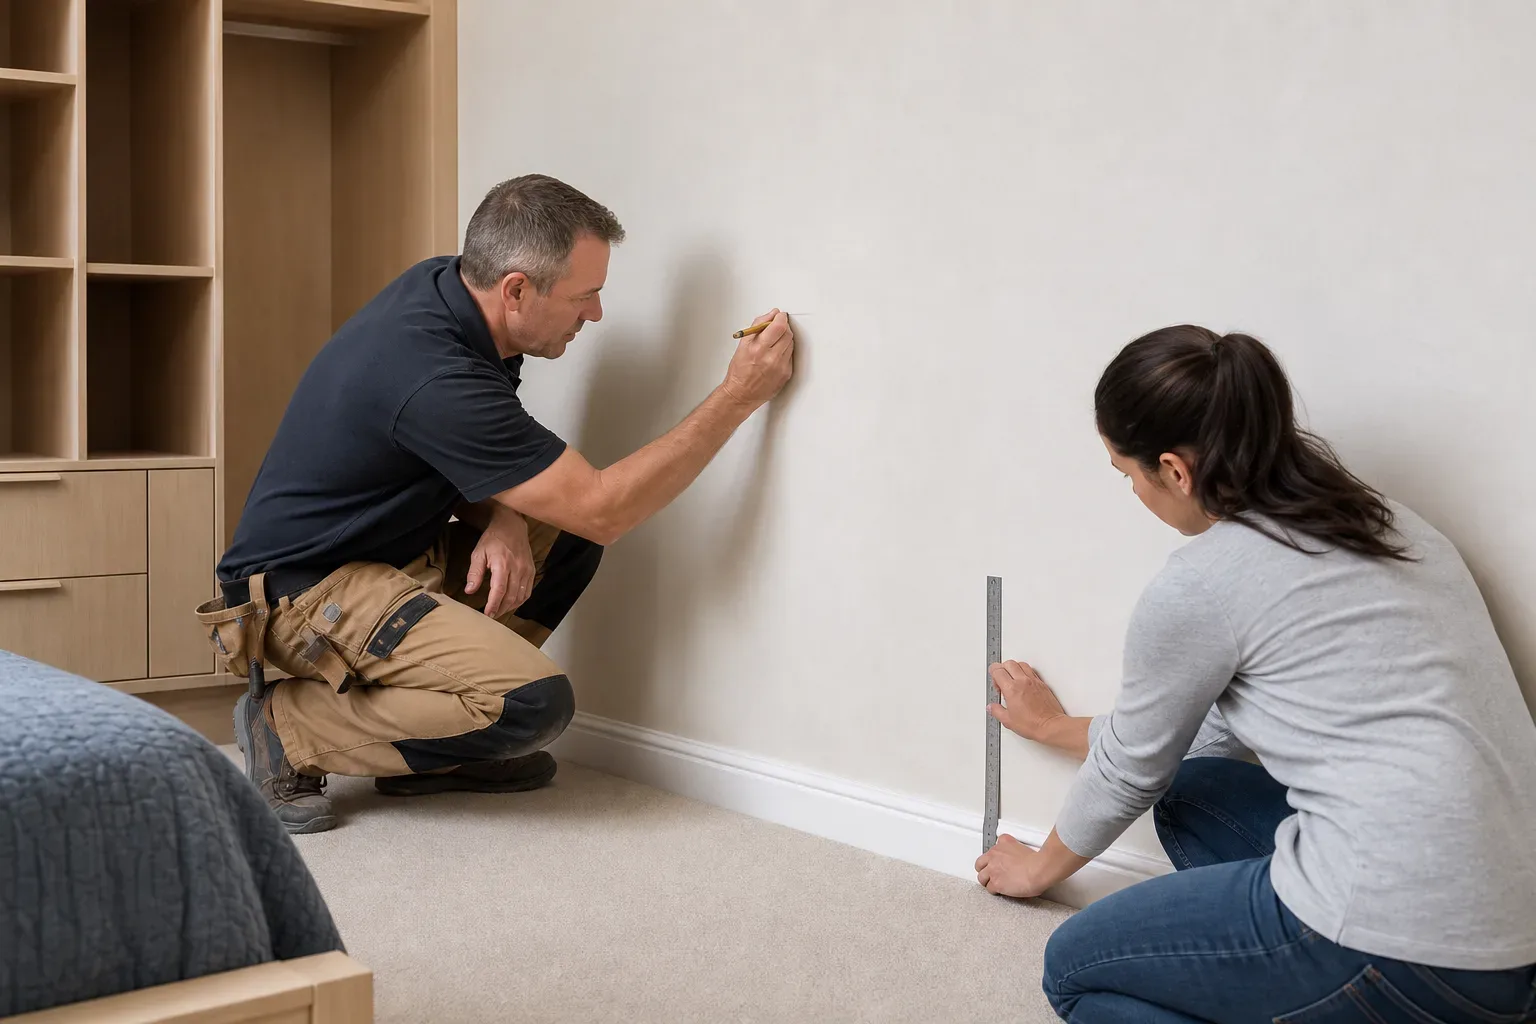
Check whether any skirting board protrudes from the wall. Skirting is usually 15–20 mm thick and the carcass will either sit in front of it or need the skirting cut back, depending on your installer's approach.
How to Measure a Fitted Wardrobe That Will Sit Alongside Existing Furniture
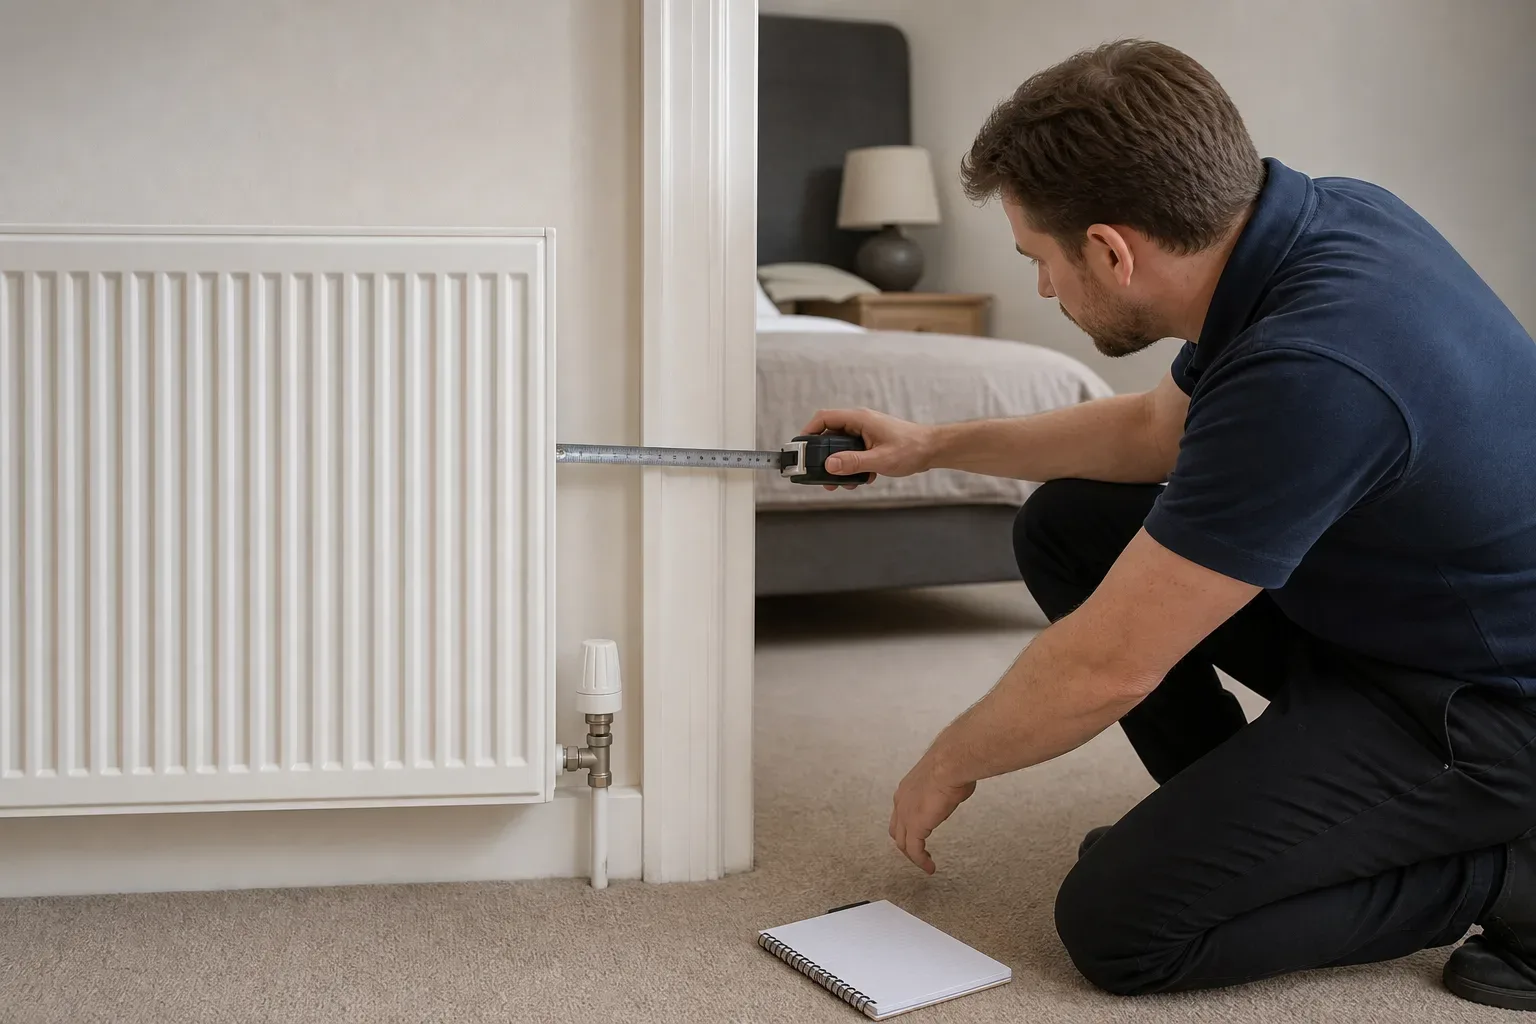
Measure the gap between any fixed elements such as a radiator, doorframe, or window reveal. Doorframes and window boards are the most common obstructions in East Lothian bedrooms. Record the distance from the wall corner to the inside edge of any frame, and note the frame's depth as well.
Radiators need at minimum 50 mm of clearance on each side for heat circulation. If a radiator sits on your chosen wall, either plan the wardrobe around it or budget for a plumber to relocate it before installation.
Checking for Obstructions and Services
Look for light switches, sockets, and aerial points on the wall. Mark their positions in your sketch: distance from the nearest corner and height from the floor. Your fitter can route them around the carcass or arrange for an electrician to relocate them.
Check overhead for ceiling roses, smoke detectors, or spotlights near the wall. These can affect the clearance for full-height doors and may need repositioning if you are going floor to ceiling.
Recording and Presenting Your Measurements
Transfer everything onto a clean sketch with dimensions written clearly against each line. Photograph the wall from several angles, including one shot of each corner so the fitter can see how square the room is. Add a photo of any obstructions: architrave profiles, skirting heights, or coving details all affect how the units are finished.
Send or bring these materials to your survey appointment. Most East Lothian fitted wardrobe specialists will carry out their own precise site survey before finalising a quote, but arriving with your own measurements speeds up the process considerably and helps you have an informed conversation about layout options.
Do You Still Need a Professional Survey?
Yes, a professional survey is still necessary even with good DIY measurements. Your measurements are valuable for early planning and ballpark pricing, but an installer will use calibrated tools, check stud positions for fixing points, and identify any structural quirks before cutting materials.
A free no-obligation home survey is standard practice among fitted wardrobe specialists in East Lothian, with most arranging a visit within 5–7 working days of an enquiry. The lead time from survey to installation is typically 4–8 weeks once a design is agreed and materials are ordered.
Typical Project Timelines and Costs to Keep in Mind
Once you have accurate measurements, you can start thinking realistically about budget. A single fitted wardrobe in a standard bedroom typically takes 1–2 days to install. A full bedroom fit-out or walk-in wardrobe runs 3–5 days.
On cost, entry-level supply-and-fit options start at £800–£1,500 for simpler single wardrobes. Mid-range bespoke projects in moisture-resistant MDF typically fall between £1,500 and £3,500. High-specification solid wood or handleless installations, including walk-in wardrobe configurations, range from £3,500 to £8,000 and above. Having clean, accurate room measurements from the outset helps your installer give you a firm quote rather than a wide estimate.
Frequently Asked Questions
How to Measure Fitted Wardrobe
Measure the wall width at three heights (floor, mid-height, and near ceiling), the floor-to-ceiling height at each end and the centre, and the available depth from wall to the nearest obstruction. Record everything in millimetres and note any skirting boards, coving, or radiators that could affect how the carcass is built and fitted.
How to Measure Bedroom for Fitted Wardrobe
Start by sketching the room and identifying the wardrobe wall. Measure the full wall width at floor level, 1,000 mm height, and 2,000 mm height, then record the floor-to-ceiling height at both ends and the centre. Also note the positions of doors, windows, sockets, switches, and radiators, as all of these affect the final design and fit.
What Tools Do I Need to Measure My Bedroom for a Fitted Wardrobe?
A steel tape measure, a pencil, and a notepad are sufficient for most bedrooms. A laser distance measurer can make ceiling heights easier to record accurately, but it is not essential. The key is measuring at multiple points along each dimension rather than relying on a single reading.
Does a Professional Still Need to Survey My Room If I Have Already Measured It?
Yes. Your own measurements are useful for early planning and discussing layout options, but a professional installer will carry out their own calibrated site survey before ordering materials. In East Lothian, most fitted wardrobe specialists offer a free no-obligation home survey and can usually arrange a visit within 5–7 working days of an initial enquiry.
What Should I Do If My Bedroom Walls Are Not Square?
Record the discrepancy clearly by noting the measurements at each height and flagging the difference to your installer. Walls that vary by more than 10 mm between floor and ceiling are common in older East Lothian properties. A good fitter will account for this using scribe strips or by packing the carcass to level it before fixing.